
Copyright ©2007 ASCPL All Rights Reserved 1 of 14 4/29/2021 MMS/DM
Publisher 2016: Part 1
Basics Features
Publisher
Publisher is a desktop publishing program that helps you create professional-looking
publications and marketing materials. Whether you start with a blank page or choose one of
hundreds of pre-designed layouts (templates), Publisher can help you create great-looking
publications in the same amount of time (or less) than you'd spend using a word-processing
program such as Word
Project 1:
1. Open Publisher. You are able to choose a category from
the top of the page.
2. For this exercise, click on the BUILT-IN heading.
3. Click on Flyers.
4. Click on Brocade.
5. You can pick a different color or font scheme by clicking
on the drop down.
6. You can choose whether you want to Include graphic.
For class leave the box checked.
7. You can choose whether you want to include Tear-offs.
For class, choose Contact information.
8. Click the CREATE button.
9. Your flyer will open in editing mode.

Copyright ©2007 ASCPL All Rights Reserved 2 of 14 4/29/2021 MMS/DM
10. Click in the business name area and
type: Akron-Summit County Public
Library.
11. Click on the Business Tagline or
Motto text box and press the delete key on your keyboard.
12. Click in the Product/Service Information and type: Laser Engraver/Cutter
Training.
13. Click in the telephone text box and make the box longer, type:
a. TechZone@Main
b. 60 S High St
c. Akron OH 44326
d. Phone: 330-643-9145
e. Email: esdiv@akronlibrary.org
Note: Press enter after each line.
14. Click in text box that starts Place text and type:
a. Come to the TechZone@Main every Wednesday night from 5:30-7:30 to learn
the ins and outs of the Laser Engraver/Cutter. We will begin week one with
some basic skills and progress until the four week with a finished product. If
you have any questions or to register for the class, please call the
TechZone@Main.
b. Highlight the text and change text to Arial 16.
15. Click on the area above the text box to insert a picture.
16. Click on the thumbnail of a photo in the center of the box.
17. Click on Browse to find a picture saved on the computer.
18. Click on Publisher folder.
19. Click on the picture named mini24-model.
20. Click on the Insert button.
21. Use the resizing handles to resize the picture if you need to.
22. Click in the first tear off on the left side.
23. Type TechZone@Main.
24. Press enter.
25. Type 330-643-9145.
26. Click in the second tear off area and your information should be duplicated.
Copyright ©2007 ASCPL All Rights Reserved 3 of 14 4/29/2021 MMS/DM
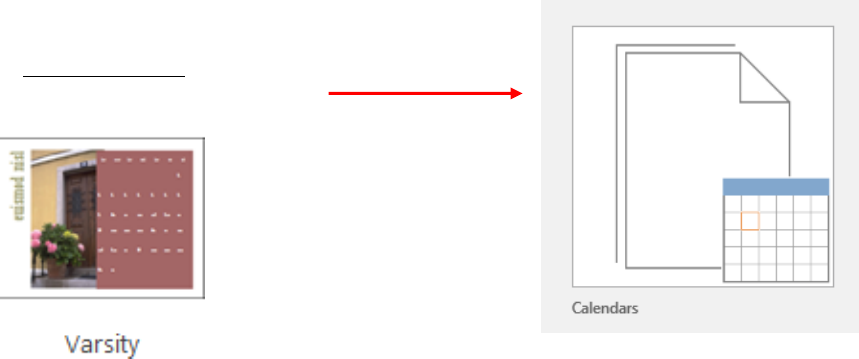
Project 2: Calendar
1. Click on File.
2. Click on New.
3. For this exercise, click on the BUILT-IN headings
4. Select the Calendars category.
5. Choose the Varsity
calendar.
6. On the right pane, you
will notice that you can
customize your sign by
changing to a different
color or a font scheme.
7. Click the drop-down
arrow next to color scheme or font scheme using the
drop down arrows
8. You can change the Page Size to Landscape or Portrait.
9. You can choose a Timeframe of One month per page or one year per page.
a. For class choose One month per page.
10. Choose Set Calendar Dates…button.
b. For class choose the current month.
11. Click on the Create button.
12. The current month calendar will open on your workspace.
13. You can type things into the square for the particular day.
a. Before typing, change the font size to 8.
b. On the first Wednesday of the month, type Laser Engraver Workshop.
c. Highlight the text after you type it, copy it and then paste it in the following
three Wednesdays.
14. You can change the size of the columns and rows if you need to fit more information
on one day by clicking and dragging the dotted lines.
15. Right click on the image on the left.
16. Rest your mouse on the change picture.
17. When menu appears, choose Change Picture.
18. Type in the Bing Image Search box something that corresponds to the month.
19. Click on the picture you would like.
20. Click on the insert button in the lower right corner.
21. The picture you replaced will be on the right as a small version.
22. Click in a blank area.
23. Right click on the original picture and choose delete.
Copyright ©2007 ASCPL All Rights Reserved 4 of 14 4/29/2021 MMS/DM
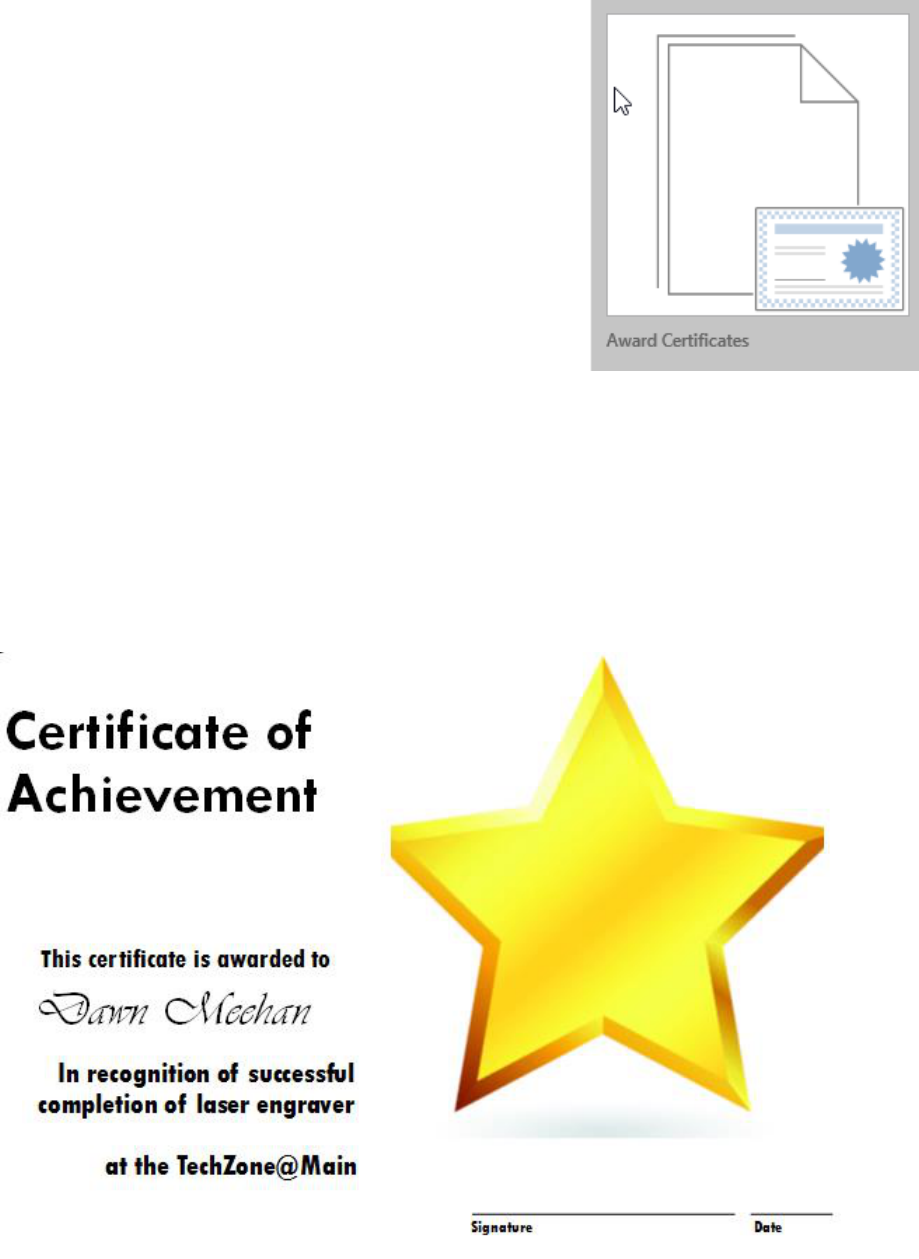
Project 3: AWARD
1. Click on File and New.
2. Select Built-In.
3. Select the category Awards Certificates.
4. Select Star.
5. Make any changes you would like under color or
font
6. Click on the Create button.
7. Click in the Certificate of Appreciation box and
type: Certificate of Achievement
8. Click in the Name of Recipient box and type:
Your Name.
9. Change the name to Vivaldi and size 40.
10. Click in the in recognition of valuable contributions to and type: in recognition
of successful completion of laser engraver training.
11. Click in the Business Name box and type: at the TechZone@Main.
12. Click and drag a box around the second signature and date line, which will select
them both.
13. Now click the delete button on your keyboard.
14. Click on the Organization placeholder and delete.

Copyright ©2007 ASCPL All Rights Reserved 5 of 14 4/29/2021 MMS/DM
Project 4: Create a Business
Card
Step 1: Choose a design
1. Click on File and New.
2. Click on Built In.
3. Choose Business Cards.
4. Choose a design you like.
5. Edit the color and font
schemes to the right.
6. Click on Create new…
under Business information.
7. Fill in the information in the
pop up box that appears.
8. Click Save.
Note: if the “Personal
Information” dialog box does not appear automatically because information has
previously been inputted, click Insert > Business Information. From there you can Edit
current information, Delete information, or create a New information file. Make sure you
name each Business Information set so that you can select different sets for different
business cards from a drop-down arrow.
9. Go to the Insert tab.
10. Click Business Information.
11. Click Edit Business Information.
12. Use the drop-down arrow under “Select a Business
Information set” to select a different business
information if you have previously created one. See example on right.
13. You can hover your mouse over the lines and the symbol
will appear. If you click the drop down arrow next to
the , you have options to edit, save, update your
Business Information OR to convert the text to ‘plain text’
meaning you can change those text lines to any new text
without affecting your saved Business Information. See
sample below.
Step 2: Edit the information
14. Edit each line of text in the left column as appropriate. (Notice it imported your
information from the Business Information box.)
15. Depending upon the design template you chose, it may have an image or logo. To
change the image, use the steps outlined in the previous project.

Copyright ©2007 ASCPL All Rights Reserved 6 of 14 4/29/2021 MMS/DM
Step 3: Printing your cards
16. Go to File > Print.
17. Select either one page (card) per sheet or multiple copies (cards) per sheet.
18. Select how many cards to actually print
on a sheet.
Copyright ©2007 ASCPL All Rights Reserved 7 of 14 4/29/2021 MMS/DM
Project 4: Create Labels
1. Click on the File menu and New.
2. Select Built-In, then Labels.
3. Choose All Mailing and Shipping.
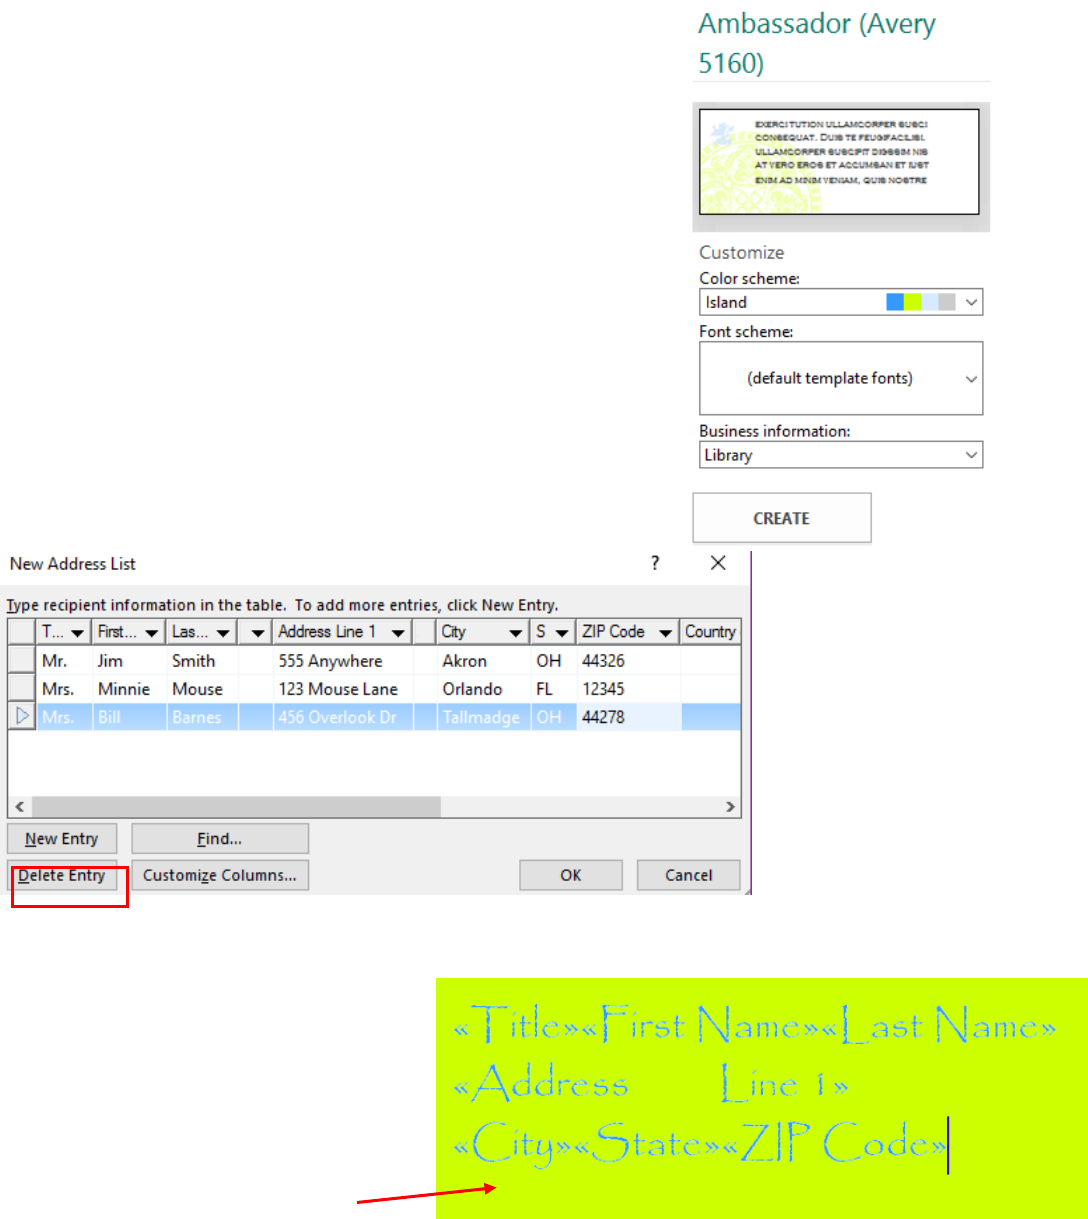
4. Choose Offset (Avery 5160).
5. Select a color and font scheme from the area on the
right.
6. Click on the Create button.
7. Change the picture to a picture of a computer.
8. Click in the text box.
9. Go to the Mailings tab.
10. Click Mail Merge button.
11. Click Step by Step Mail Merge Wizard.
12. Under create recipient list on the right hand side of the
screen, click Type a new list.
13. Click Next: Create or connect to a recipient list below.
14. Enter three addresses in the pop up box that appeared.
a. After entering the first person’s address, press the
new entry button.
15. Click OK when finished.
16. In the box by file name, type:
classwork.
17. Click Save.
18. A new box will appear called
Mail Merge Recipients, click
OK.
19. Make sure to click inside this
box first before the next step
number 20.

Copyright ©2007 ASCPL All Rights Reserved 8 of 14 4/29/2021 MMS/DM
20. Click all the categories you would like to have added to the label under Insert Merge
Field on the ribbon.
a. Title, First Name, Last Name
b. Address
c. City, State, Zip Code
OR
21. Click Address Block from the ribbon.
22. Click on the Preview Results Button.
23. Use the arrows on the ribbons to see the
different addressed labels.
24. Now click on Next: Create merge
publication at the bottom.
25. Go to File and Print or click Print on the
right hand side of screen.
26. Make sure it says Print All Records.
27. Under Records, choose multiple pages per
sheet.
28. Under copies of each label type in number
of labels.
29. Under layout options, choose which row and column to start with if you are using a
partially used sheet of labels.

Copyright ©2007 ASCPL All Rights Reserved 9 of 14 4/29/2021 MMS/DM
Project 5:
1. Click on the File menu and New.
2. Select Built-In, then Invitation Cards.
3. Under Event, click the folder that says
All Event.
4. Under Celebration, click on
Retirement.
5. Select a color and font scheme from the area on the
right.
6. Under Options, choose whether you want a quarter-
sheet or half sheet fold. For class, let’s choose quarter-
sheet top fold.
7. Under Layout, you can also choose what type of layout
you would like. For class, choose juxtaposition.
8. Click on the Create button.
9. Change You’re Invited to SHH! It’s a surprise…
10. Change the font to Gigi.
11. Change the font size to 20.
12. Click on the font color drop down to change the font color. Let’s practice using the
Sample Font Color to make the font color match the box on the left of the
invitation’s color.
13. Click on page 2 3 in the left pane.
14. Change Invitation Title to Andy’s 50
th
Birthday.
15. Type in the placeholder something about your party.
16. Change Contact person: 555-555-5555 to your name and phone number.
17. Change the date to 12/31.

Copyright ©2007 ASCPL All Rights Reserved 10 of 14 4/29/2021 MMS/DM
18. Change the time to 6:00 p.m.
19. Click on the placeholder about describing your location and delete it.
20. Click on page three.
21. Click on It’s a retirement party text box and delete it.
22. Change the image of the sun to something related to birthdays using online pictures.
a. Click on the Bing image search and then perform the search. This will
prevent you from getting any error messages.
23. Delete the original picture.
24. Move the Please join us text box down and change the font size to something a little
larger.
25. Resize the picture to make it a little easier to see.

Copyright ©2007 ASCPL All Rights Reserved 11 of 14 4/29/2021 MMS/DM
Project 6: Newsletter
1. Click on the File menu and New.
2. Select Built-In, then Newsletters.
3. Select the Layers newsletter under More Installed Templates
4. You can make any changes to color or font scheme.
5. Under Page size choose One-page spread.
6. Click the Create button.
7. Right Click on Pages 2 and page 3 and choose delete.
8. Click on the Newsletter Title and type: TechZone@Main.
9. In the Newsletter Date text box, type: today’s date.
10. Under Special Points of Interest, type:
a. TechZone@Main offers Passport and Notary services.
b. We offer computer training.
c. We offer computer help on our public PCs.
d. Check with the staff about what maker machines are available.
Lead Story
1. Lead Story Headline box, type: Exciting News.
2. Right click on the body of the story, choose change text.
3. Choose text file.
4. Choose the Publisher folder.
5. Choose top front story.
6. Click OK.
7. Publisher will convert the text to fit in the given
space.
8. Highlight the story and change the font size of
the story to 11.
9. Right click on picture and choose ungroup.
10. Left click in a blank spot and then right click on
picture.
11. Choose change picture.
12. Choose From a file.
13. Choose the Publisher folder.
14. Choose the TechZoneMain2 photo.
15. Unselect the photo.
16. Click on the original photo and hit the delete key on your keyboard.
17. Click in the text box under photo and type 3D Printer available.
Copyright ©2007 ASCPL All Rights Reserved 12 of 14 4/29/2021 MMS/DM
Secondary Story Headline
1. Click on the Secondary Story Headline
2. Type: Free Computer Classes.
3. Insert a bullet in the first text box underneath Free Computer Classes.
4. Type:
a. Classes offered monthly.
b. Limit of 15 per class.
c. Classes consist of basic to advanced.
d. Offered at Main and Branches.
e. Grab a calendar at any of our libraries.
5. Insert a picture of a computer.
6. Click on Insert.
7. Click on Online Pictures.
8. Type computer in the Bing Image Search box.
9. Choose a computer image and insert it.
10. Resize the picture and move it down near your bullet point.
Inside this issue
1. Type:
a. Special Points of Interest 1
b. Exciting News 1
c. Free Computer Classes 1
d. About TechZone@Main 2
e. Equipment Available 2
2. Delete the extra inside this issue information that you did not need to replace.
Business Tagline or Motto
1. Click on Business Tagline or Motto.
2. Type: About TechZone@Main
3. Right click on the body of the story, choose change text.
4. Choose text file.
5. Choose the Publisher folder.
6. Choose Business Tagline or Motto.
7. Click OK.
8. Publisher may push the story to a new page. If it does expand the text box so that all
the text will fit.
9. Then right click on the new page that was added on the left to delete it.

Copyright ©2007 ASCPL All Rights Reserved 13 of 14 4/29/2021 MMS/DM
Insert Photo
The back of our newsletter seems a little boring. Let’s add a picture or two.
1. Click on Insert.
2. Click on Online Pictures.
3. Search for Vinyl Printer.
4. Select a picture and insert it.
5. Resize picture as needed.
Back Page Story
1. Delete the photo
2. Click on the Back Page Story Headline.
3. Type: Equipment available.
4. Right click on the body of the story, choose change text.
5. Choose text file.
6. Choose the Publisher folder.
7. Choose Back Page Story.
8. Click OK.
9. Publisher will convert the text to fit in the given space.
Insert Photo
1. Click on Insert.
2. Click on Pictures.
3. Choose the Publisher folder.
4. Choose the TechZone-Logo-Black-Symbol photo.
5. Resize picture as needed.
6. Move the symbol to the bottom left hand corner before the bar.
If time permits in class: Add Business Information to text boxes on the left. See Project 3.
Add to We’re on the Web!, www.akronlibrary.org

Copyright ©2007 ASCPL All Rights Reserved 14 of 14 4/29/2021 MMS/DM
Appendix
Printing a Two-Sided Page (Duplex Printing)
Printing a page that is back to back is a process that is dependent upon the printer. Some
printers can perform duplex printing, which prints on both sides of the paper before ejecting
it, while other printers require the user to reload the paper manually. You should check
your printer manual to see if it supports double sided-printing.
Print a publication on a printer that supports duplex printing
Many printers support duplex printing, but they don't all make the duplex option available in
the same way. With some desktop printers, choosing duplex means that the printer prints all
of the copies of the first side of a page, then pauses and asks you to flip the sheets that it
just printed and return them to the printer, after which it prints all of the copies of the second
side. This method is called manual duplexing.
To print on both sides of a sheet of paper:
1. From the File menu, click Print.
2. Click Properties.
Note: The information in the Properties dialog box varies depending upon the
manufacturer of the printer you're using. With some printers, you will see a Layout tab
with a Print on both sides option on it. With other printers, you might see a Features tab,
and the duplex option might be called something like Two-sided printing. Explore the
various tabs in the Properties dialog box until you locate the duplex printing option.
3. Click OK to close the Properties dialog box, and then click OK again to close the
Print dialog box and print your publication.
Print a publication on a printer that does not support duplex printing
Even if your printer does not support duplex printing, you can still produce a double-sided
publication.
Display the side of the publication that you want to print first. In the Print dialog box, under
Print Range, click Current page. When the print run of the first side is complete, flip the
sheets over and reinsert them into the printer, and then print the other side.
